(Please note: I am writing this bicycle touring gear list guide as a solo male cyclist. However, in my opinion the content is helpful for all genders.)
So, you are planning your first bicycle touring trip?
You must be feeling a whirlwind of emotions right now, asking yourself questions like: “Where will I sleep?”, “What bike touring gear should I take?”, “Am I fit enough?”, or my personal favorite: “Are there any bears on my route??”
I remember asking myself all sorts of wild crazy questions while planning my first bike trip, I was in the exact same position as you are now!
Well, I want you to know I’ve got you covered.
In this guide I’m going to be talking about all the items you should be adding to your bicycle touring gear list.
Table of Contents
Bicycle Touring Gear List
Bicycle Setup
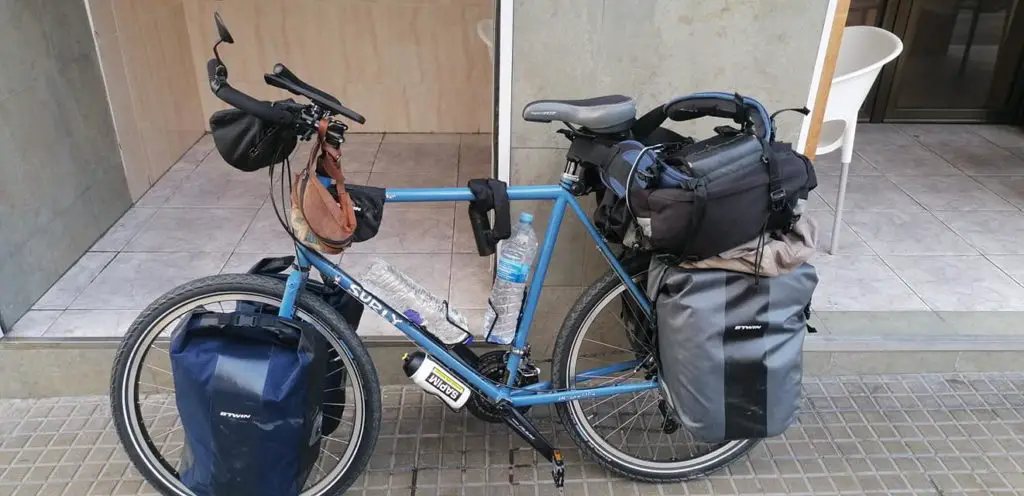
The first point you want to consider is your route. What does your routes terrain look like, is it mostly asphalt, paved, gravel or perhaps cobblestones?
A cool tool I like to use is Komoot. If you have a start and finish location in mind use this tool to figure out your routes terrain.
For example, using Komoot I can see that the route from Prague to Passau is mainly asphalt. Therefore, I’m more than likely to opt for a long distance touring bicycle with road tyres. If your route is mainly offroad with cobblestones, then a mountain bike with suspension is probably more your direction.
Bicycle Frame
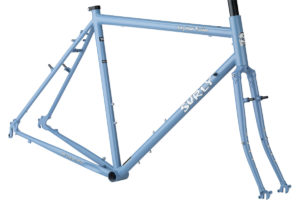
I personally love the Surly Long Haul Trucker frameset, it’s what I use. Another brand of frame you could look into is the Koga World Traveller. Both these frames are strong and have multiple attachment points which allow panniers and water bottles to connect. But to be quite frank, any old bicycle frame will do. On my first cycling tour I used a 3rd hand unknown brand and it never let me down, not once!
Tyres
I use the Schwalbe Marathon Plus. These tires are the best of the best and can often last well over 6200 miles (10 000 km). They have a very thick rubber, which will come in handy if you happen to ever ride over any thorns. Trust me, you don’t want to change tires all the time because of thorns. Schwalbe Marathon Plus tires is worth the investment.
Bicycle Seat
I’m not sure how it is for a woman, but as a male rider this part of your bicycle setup should NOT be overlooked. I personally don’t care much for comfort, any cushion will do. As long as there’s space for the family jewels I’m as happy as a pig in pajamas! Check out this article which discusses how to avoid seat related injuries. I recommend this waterproof bicycle seat.
Panniers
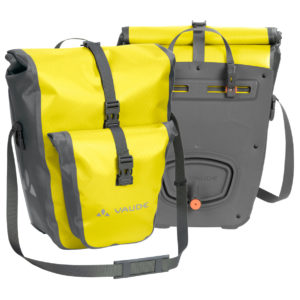
I recommend the Vaude aqua black plus panniers, each hold 51L and are 100% waterproof, which is essential for long distance bike touring trips. On my bike setup I had two 51L panniers on my back wheel and two 35L panniers on my front wheel. The total amount of liters you carry really all depends on the distance of your trip. Remember, a heavy bicycle makes for a much tougher ride, so pack efficiently and lightly if possible. The main reason I recommend this brand is that their panniers are produced in a carbon neutral manner. (The environment will reward you along your trip for being eco-conscious.) Browse all bicycle panniers here.
Navigation Holder
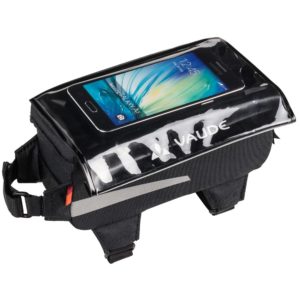
The Carbo Guide Bag by Vaude is the obvious choice. The small bag offers 1L of space for essential repair kit tools, and has a water proof casing for your GPS, which will be mega handy in rainy conditions. Also, the Carbo Guide Bag is made from recycled PET plastic bottles. On my first bicycle tour I simply used an elastic band to fasten my phone onto the handle bars, perfect setup, until it rained.
Lights
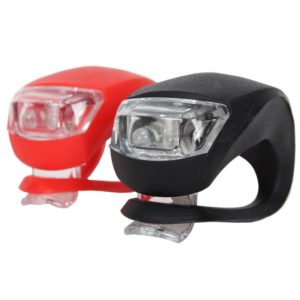
Headlights and taillights are only necessary if you plan on driving during the evening or early hours of the morning. I usually opt for them regardless of my plan, as you never know when you might decide to push on a little further into the evening. Once, I entered a super long tunnel unplanned and I was glad I had lights, as cycling through a busy, narrow tunnel in the dark is actually more intimidating than you might imagine. Check out these bicycle lights.
Elastic Carrier Straps
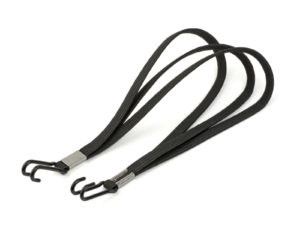
These elastic bad boys always come in handy! Anyone who’s been bicycle touring before will tell you the same. I remember one time right before a trip I had no way to get rid of my backpack (shipping was too expensive), so instead I tied it onto the back of my bicycle using said elastic bands, life saving! (You can see a photo of this under Bicycle Setup) Take a look at these bicycle straps.
Handlebars
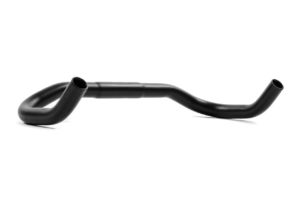
Again, this is a piece of gear I really didn’t fuss about on my first trip. However, I can assure you after many hours of bicycle touring, you’re going to want to shift your hand position from time to time.
Mirror
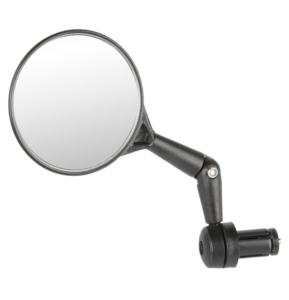
Bicycle mirrors are super important, really they can save your life! Make sure you get one installed, and that it’s on the appropriate side. This depends on the country you are touring in, of course. This website shows which side of the road traffic flows in certain countries. Browse all bicycle mirrors here.
Clothing
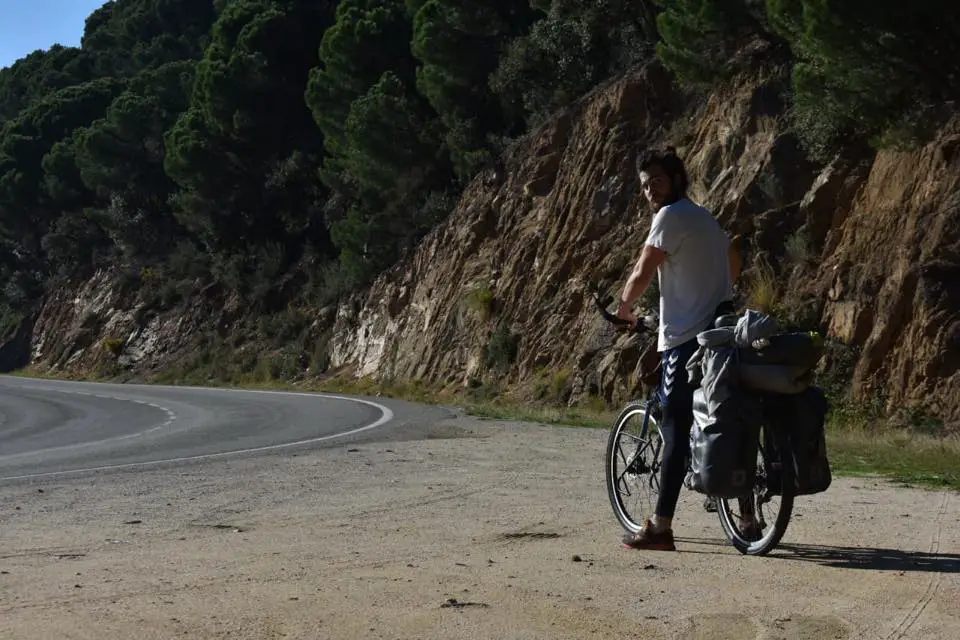
When it comes to clothing, certain items cannot be overlooked. Adequate clothing can provide warmth, protection against the elements and well, let’s face it, dignity. 🙂
As for what clothing you pack, that really all depends on three things: route, climate and season. As you can see in the very friendly picture above, I’m wearing a simple T-shirt, shorts and thermal leggings.
I was cycling in Barcelona (Mediterranean climate) in December where the average temperature is 59°F (15°C). That particular day was quite hot, but luckily I had warm clothes packed, as when I entered France the temperatures started to become very cold.
If you already know which country you will be cycling in, you can use this website to figure out the average temperature.
T-Shirt (x3)
Any old T-shirt will do here, I’d recommend packing 3x T-shirts which you can wash whenever you have access to water.
Fleece Jacket (x1)
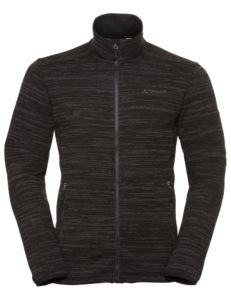
1x eco-friendly fleece jacket is perfect for those crisp early morning rides. Also, if you plan on camping these jackets will come in handy during cold nights.
Cycling Pants (x1)
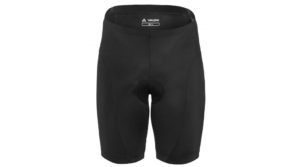
A pair of comfy cycling pants can go a long way, especially if you are new to long distance touring. I usually wear jocks underneath my cycling pants. Comfort level = sky high!
Raincoat (x1)
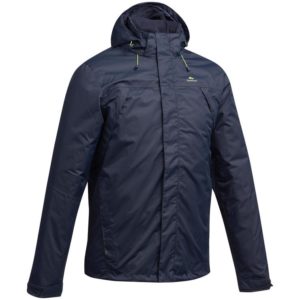
I use the Quechua raincoat, which is an eco-designed rain jacket made with recycled polyester fibres. So far, it hasn’t let me down.
Shoes (x1 pair)
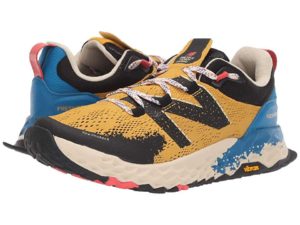
When it comes to shoes, I’ve never been picky. Nothing changes on my cycle tours. I usually just bring an old pair of retro trail shoes, they breathe easy and are super light.
Fleece Pants (x1)
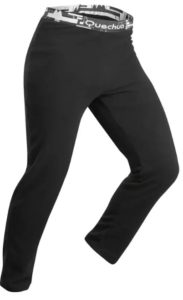
Fleece pants I wear over my cycling shorts only on the colder mornings. They also come in handy for cold evenings in a tent. I have the exact same ones in the photo above. The fleece material is made of 100% recycled polyester yarn.
Thermal leggings (x1)
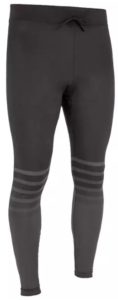
Thermal leggings are good for two things. 1. they reduce chafing and 2. they make you look like a professional athlete.
Socks & Underwear (x4 pairs)

Go wild here, whatever feels the most comfy to you. Bicycle touring hack: wash one pair every day and let them dry on the back of your bicycle under the elastic carrier straps.
Buff (x1)
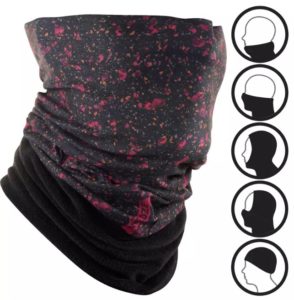
Look at all the ways you can wear this thing. I tried to use mine to stop my nose from running during cold rides (doesn’t work, don’t bother).
Shorts (x2)
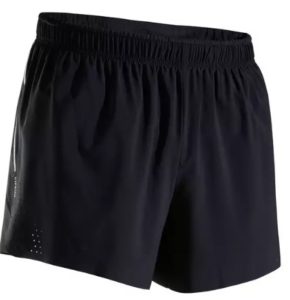
I bring two pairs of shorts with me. When the one is busy drying I wear the other one, same concept as the underwear.
Non Cycling clothes
This is completely up to you, what do you like to wear when you’re not cycling? A word of advice, pack comfy and pack light.
Camping Gear
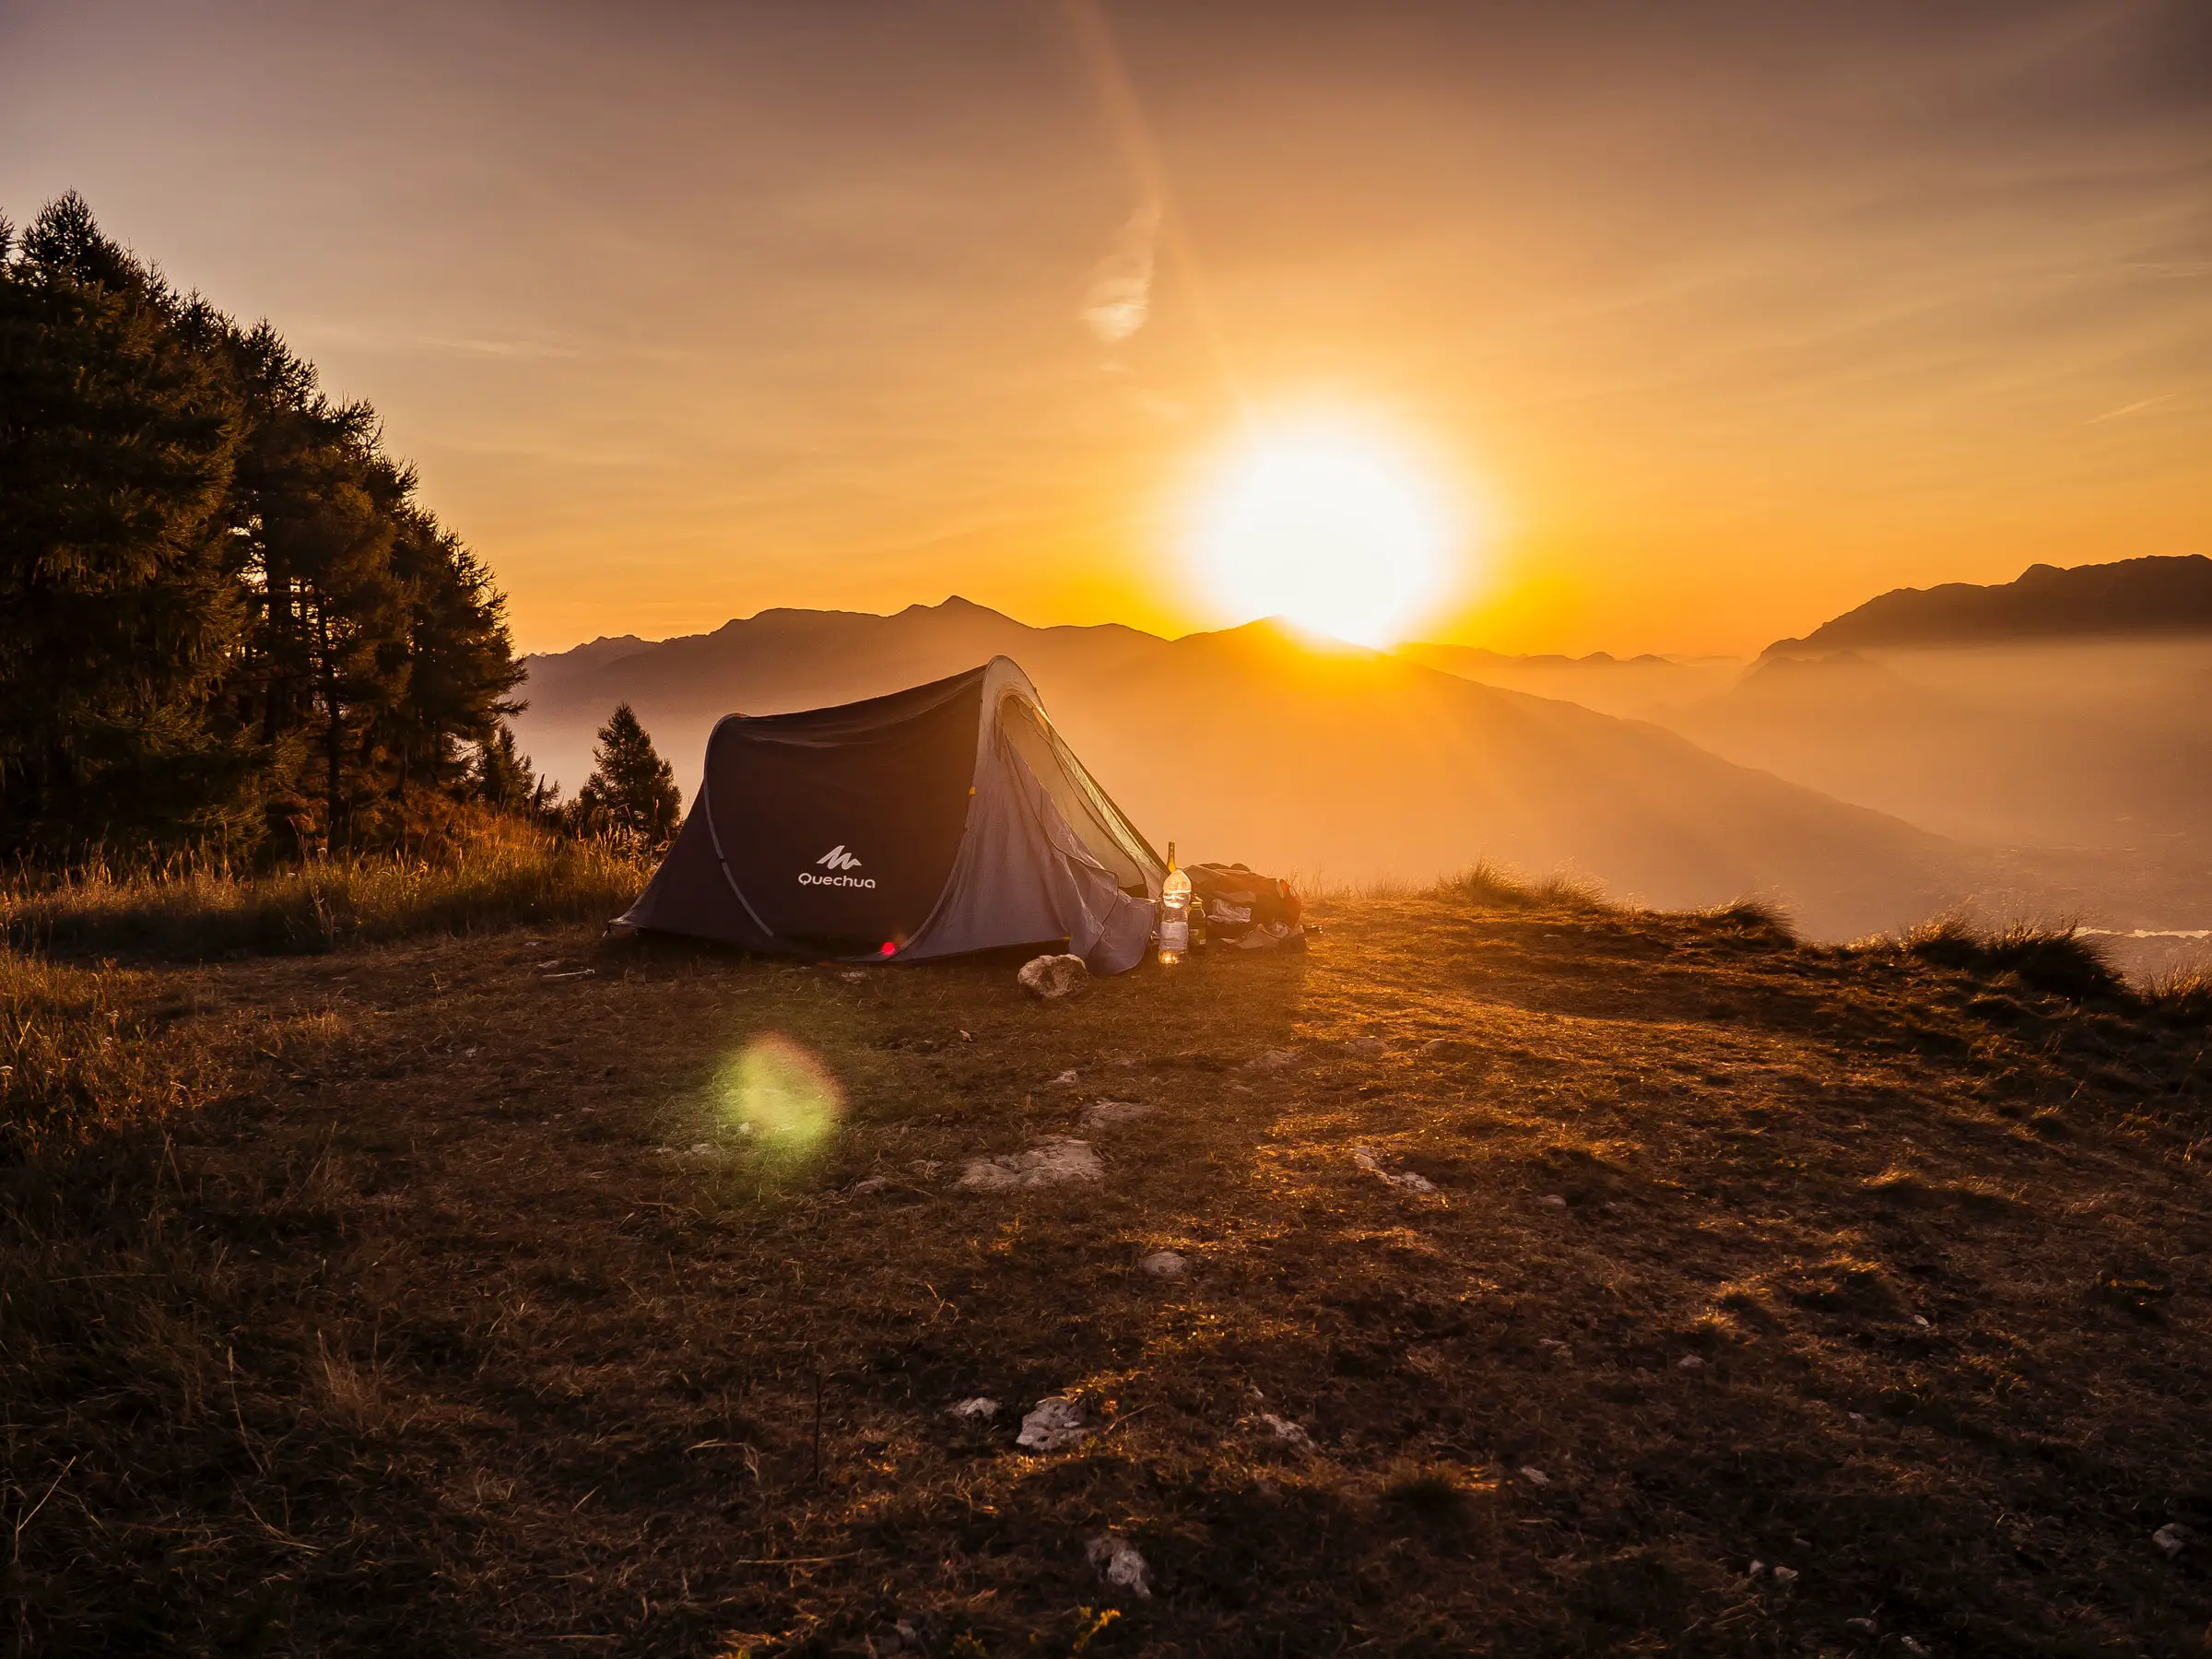
The right camping gear is paramount to the overall success of your bike touring trip. I’ve made the mistake of not choosing the right gear before and I won’t make that mistake again. Similar to clothing, your choice of camping gear all depends on the season/average weather of the country you plan on cycling.
Some of the questions you should be asking yourself are: “What is the average temperature at night?”, “Is it rainy season?”, “Is my route known for lots of wind?”, “Do I plan on wild camping?” Usually camping gear takes up the most space, so try buying compact, light equipment.
As for your budget, you can save money on many of the other items on this list. But trust me, when it comes to camping gear, I’d recommend that you invest in quality equipment. You’ll thank me later.
Sleeping Bag
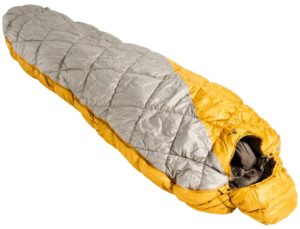
When it comes to most important items on your bicycle touring gear list, sleeping bags are up there. Especially, if you are cycling and camping in colder temperatures. Your trip will not last long if you freeze to death every night. When you cycle every day, you-NEED-amazing-sleep. Once you’ve determined what the average temperature will be during your tour, you can pick an adequate sleeping bag. On the bag there will be two temperatures, Temperature Comfort: 2 °C & Temperature Limit: -3 °C. Make sure the average temperature at night doesn’t drop below the temperature comfort of your sleeping bag. The Meglis 700 SYN is a good sleeping bag.
Tent
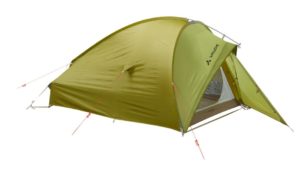
When deciding which tent to buy, make sure it has the following features: 100% waterproof, as light as possible (below 6 pounds/ 3kg), does not need to be pegged into the ground to stand, wind proof. If you plan on wild camping then point 3 is very important. Again, I’ve made this mistake before, on one trip the ground I was camping on was too hard for my tents pegs. This forced me to sleep in my sleeping bag outside in 40°F (5°C). It was a cold night, to say the least. Check out this epic tent from Northface.
Sleeping Pad
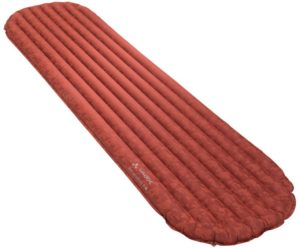
A high quality sleeping pad is a necessity. The same night I was forced to sleep outside in 40°F, my sleeping pad also started to leak. Every 20 minutes for the entire night I had to reinflate my mattress. Not fun. Look for a sleeping pad of high quality, one that can roll up into a tight bundle, like this one.
Cooking Kit
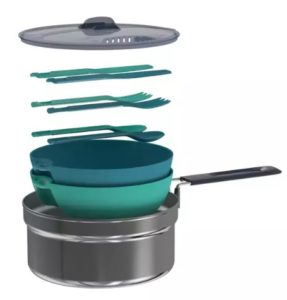
The cooking kit above works perfectly for one or two people. You can check them out here.
Camping Stove & Gas
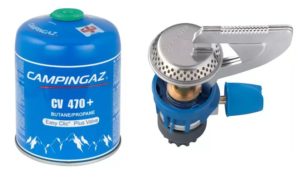
This gas stove is designed for hikers and campers seeking a lightweight and powerful camping stove that doesn’t take up a lot of space. I prefer to make fires where I can, but sometimes that’s just not possible. That’s where these two come in.
Knife

I personally love the Opinel brand, I’ve used mine for so many different things. From peeling oranges to cutting open boxes, a knife is a must have on any one of your travels.
Water Storage
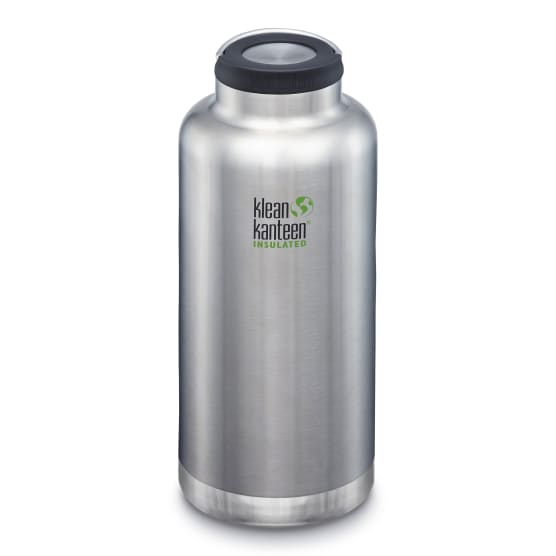
Back in the day I would use three 1.5L plastic water bottles which I’d attach onto my bicycle. The plan was to reuse them until they weren’t reusable anymore, given that they are plastic, they would’ve lasted me a solid 450 years. However, if you aren’t into drinking microplastics, I’d recommend an aluminum alternative such as the Klean Kanteen. If you are interested in learning more about microplastics in bottled water read this article.
Maintenance & Repair
In the unfortunate event that something goes wrong, like you run a puncture or break a chain, you want to feel confident that you can fix any problems as they arise. To do this you’ll need the right tools. If you aren’t confident that you can actually fix your bicycle, watch these two Youtube videos – How to fix a flat tire & How to fix a chain.
The amount of spares you bring with you really depends on your route once again. If you are touring in a fairly urbanized area, then carrying too many spares it not so necessary. Nevertheless, having the essentials with you won’t hurt.
Tool Kit
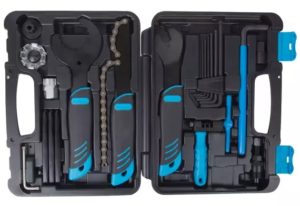
This tool kit is essential to add to your bicycle touring gear list. It has everything you’ll need to fix any problem on any bicycle.
Puncture Repair Kit
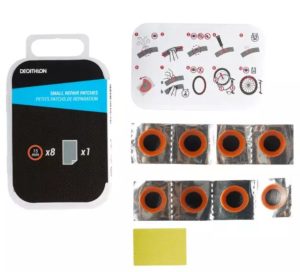
If you use the Schwalbe Marathon Plus tyres, it’s unlikely you’ll ever get a puncture. But incase you do, you’ll need the right patches. Fixing a tyre is easy work, check out the video link above to see how it’s done.
Spare Inner Tubes (x2)
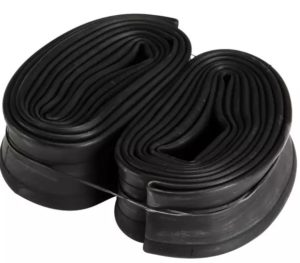
When it comes to spare tubes, aim to bring 2 with you. Remember, you can always patch a tube up, so putting in a brand new tube is really a last resort. Make sure that the tube you purchase fits the size of your rims.
Pump
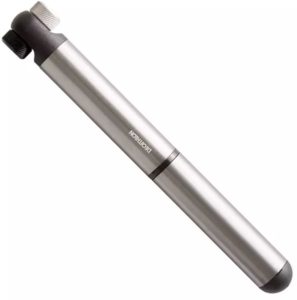
A small compact hand pump usually gets the job done. No need for a foot pump, those are too bulky. I recommend this one from Vibrelli.
Spare Chain (x1)
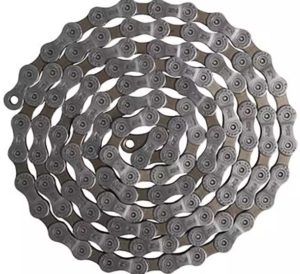
I’ve never had to replace my bicycle chain before, but it doesn’t hurt having one, just in case the moment arises.
Chain Lube
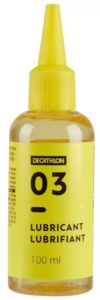
Make sure you lube up that chain, I’d say once every 100 – 200 miles (160 – 320km).
Navigation
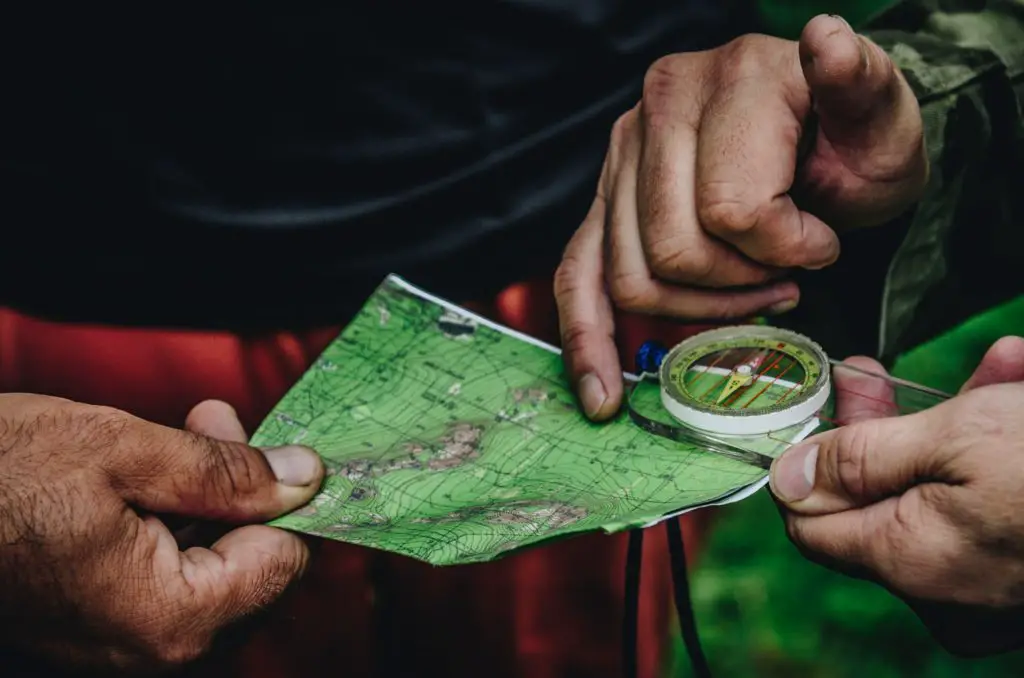
I personally loves using maps, but I think most people prefer GPS? When it comes to navigation, you really can just use your phone. There are a few navigation apps that I’ve used and am going to recommend you.
It’s important to note that sometimes your GPS takes you on a dead trail, especially if you follow “bicycle routes”. This is part of the journey. If you hit a dead end, simply backtrack and try another route, it’s all part of the experience. 🙂
Google Maps
For me, Google maps seems to be the most consistent, and while they have limited bicycle routes, in general they update their overall routes quite frequently.
Komoot

Komoot has a large variety of cycling routes, plus you can download other people’s routes and use them as your own. It is jam packed with information, I’d certainly use this app when planning your route.
Maps.Me

If you are worried about internet connection, I’d recommend Maps.me. They have extremely detailed offline maps, which you can download when you have WIFI.
Bike Map
Bike Map has a huge collection of routes cycled by other people, somewhat similar to Komoot, except strictly for biking activities.
Toiletries
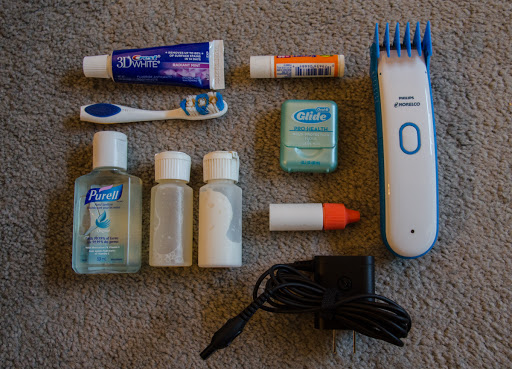
Like underwear and socks, you decide what you want to bring here. As a general rule of thumb I like to bring only the essentials, like my tooth brush, shampoo, soap, tooth floss, lip ice & razor (unless you want to grow a pirate-like beard, then forget this item at home).
Safety and Security
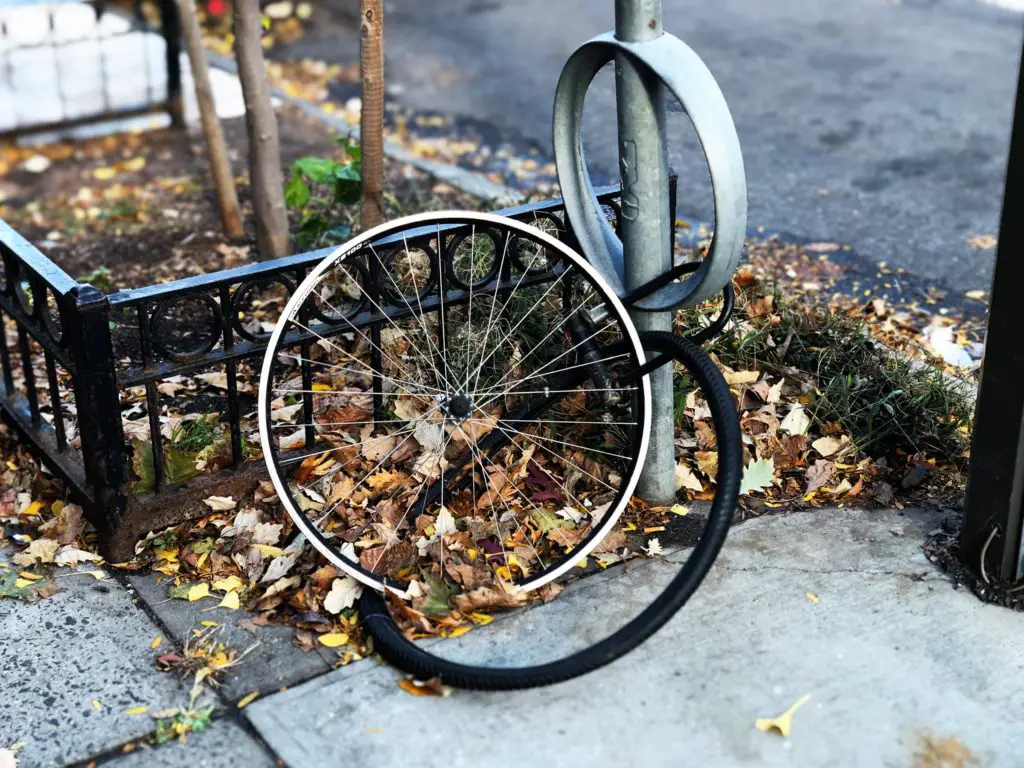
If you live in the Netherlands or Germany then it’s almost a guarantee you’ve come across this scene before! A word to the wise, never lock your front wheel to a post, you are practically asking for your bicycle to be stolen. Read this article to get security tips from an ex bike thief. There’s one spot on your bicycle that you can use for hiding money, if you don’t feel comfy carrying any on your person.
Check out this video below to learn some security hacks to protect your bicycle during your travels.
I hope you have a better idea of what to add to your bicycle touring gear list. If you have any questions, please feel free to ask me in the comments section below.

James
Monday 6th of July 2020
I think that you're a much better writer than you think. Great article ????
Kyle
Sunday 19th of July 2020
Thanks very much James :)
Ada
Thursday 2nd of July 2020
Hi Kyle, I thoroughly enjoyed reading this - good job!! Carry on like this, best wishes, Ada
Kyle
Sunday 5th of July 2020
I'm glad you enjoyed the read Ada!