Table of Contents
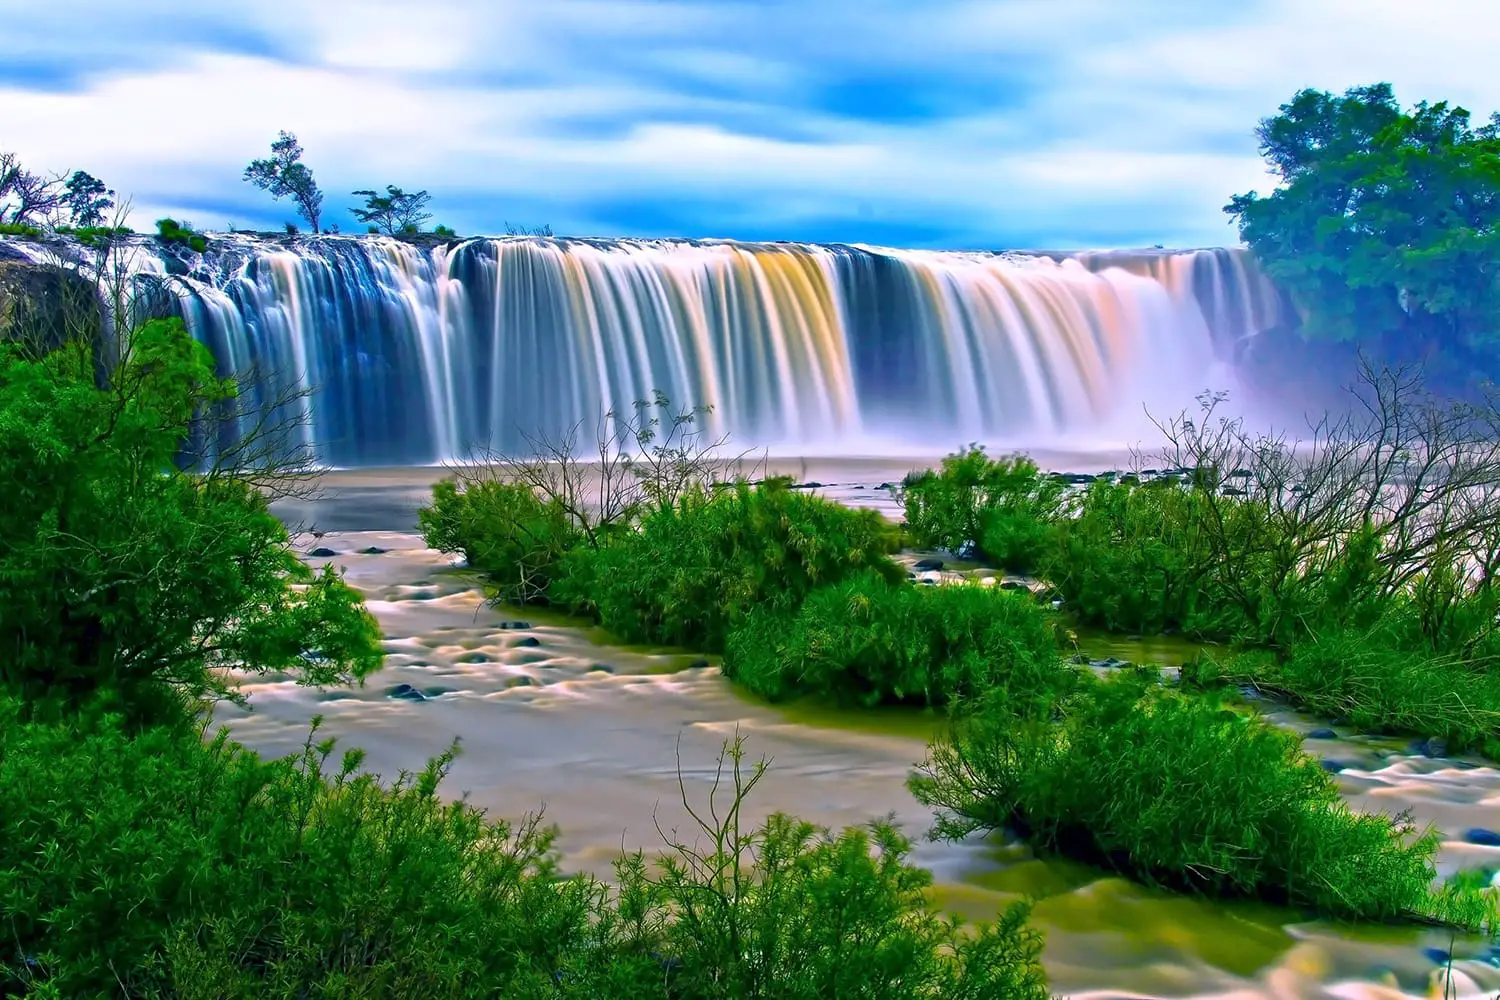
Long exposure photography or night time photography is one of my favorite photo styles to shoot in.
It doesn’t matter whether you’re a complete noob photographer (like me) or a National Geographics expert, as long as you have a steady hand, the right settings dialed and patience, long exposure photography always look so damn beautiful! Below I’ve devised a brief list of 9 long exposure photography tips!
Tip 1
Get a tripod
First things first, you are going to need a tripod. Ignore all this talk online that you need an expensive tripod.
To begin, all you need is a basic tripod that doesn’t wobble too much. For example this Ubeesize 60 inch camera tripod works perfectly. If you don’t have a tripod, do what I did in the beginning, just balance the camera on something that looks as flat and as stable as possible.
Tip 2
Get a wireless remote
If your camera model allows for a wireless bluetooth remote, get one! They are extremely cheap and worth the investment.
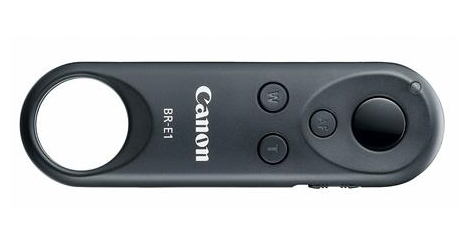
Essentially, a wireless bluetooth remote allows you to control your camera’s shutter from a distance. Any movements on a camera that is busy taking a long exposure photo will result in a blurry image! So these lil guys are important if you want crystal clear images.
Tip 3
Fiddle with the settings
Adjust your camera’s settings. In the beginning this process is simply just trial and error. My advice, just leave your ISO on 100 and your aperture on around 8 (this depends on what the focus of your photograph is, for landscape F16 will do). Then just fiddle with the shutter speed. The darker it is, the longer your shutter needs to remain open for. I usually start on around 5 seconds and work my way up from there.
The remote mentioned in tip 2 becomes important when you want to start taking long exposures of 30 seconds or more.
Tip 4
Block out all light
When shooting a long exposure, you want to make sure to block out any unwanted light. Bring some black tape with you to cover the viewfinder. (That small rubber thing you look through)
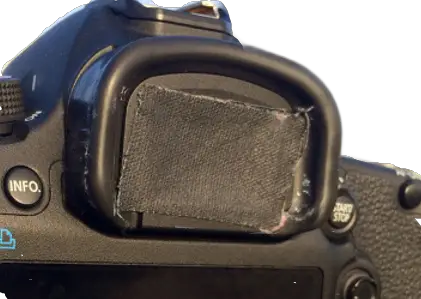
Any unwanted light immediately affects the quality of your picture.
Tip 5
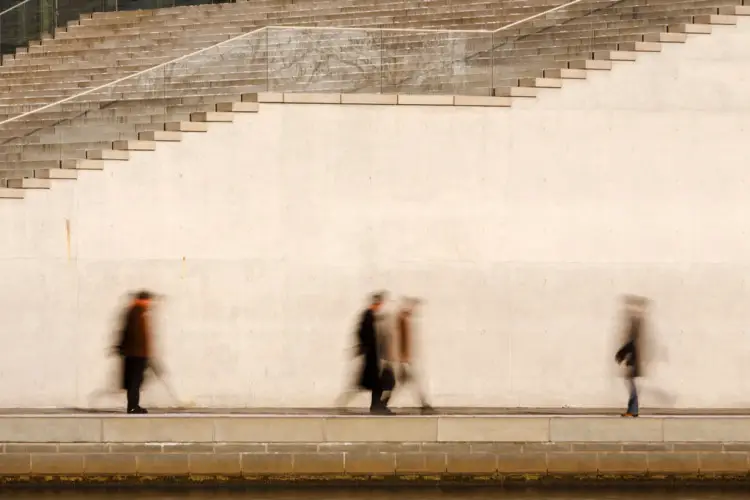
Make sure no one walks in front of your camera (if you don’t want ghost images)
Any people walking through your shot during a long exposure will create a ghost trail, which can either make or break your final result, depending on what you’re into.
Tip 6
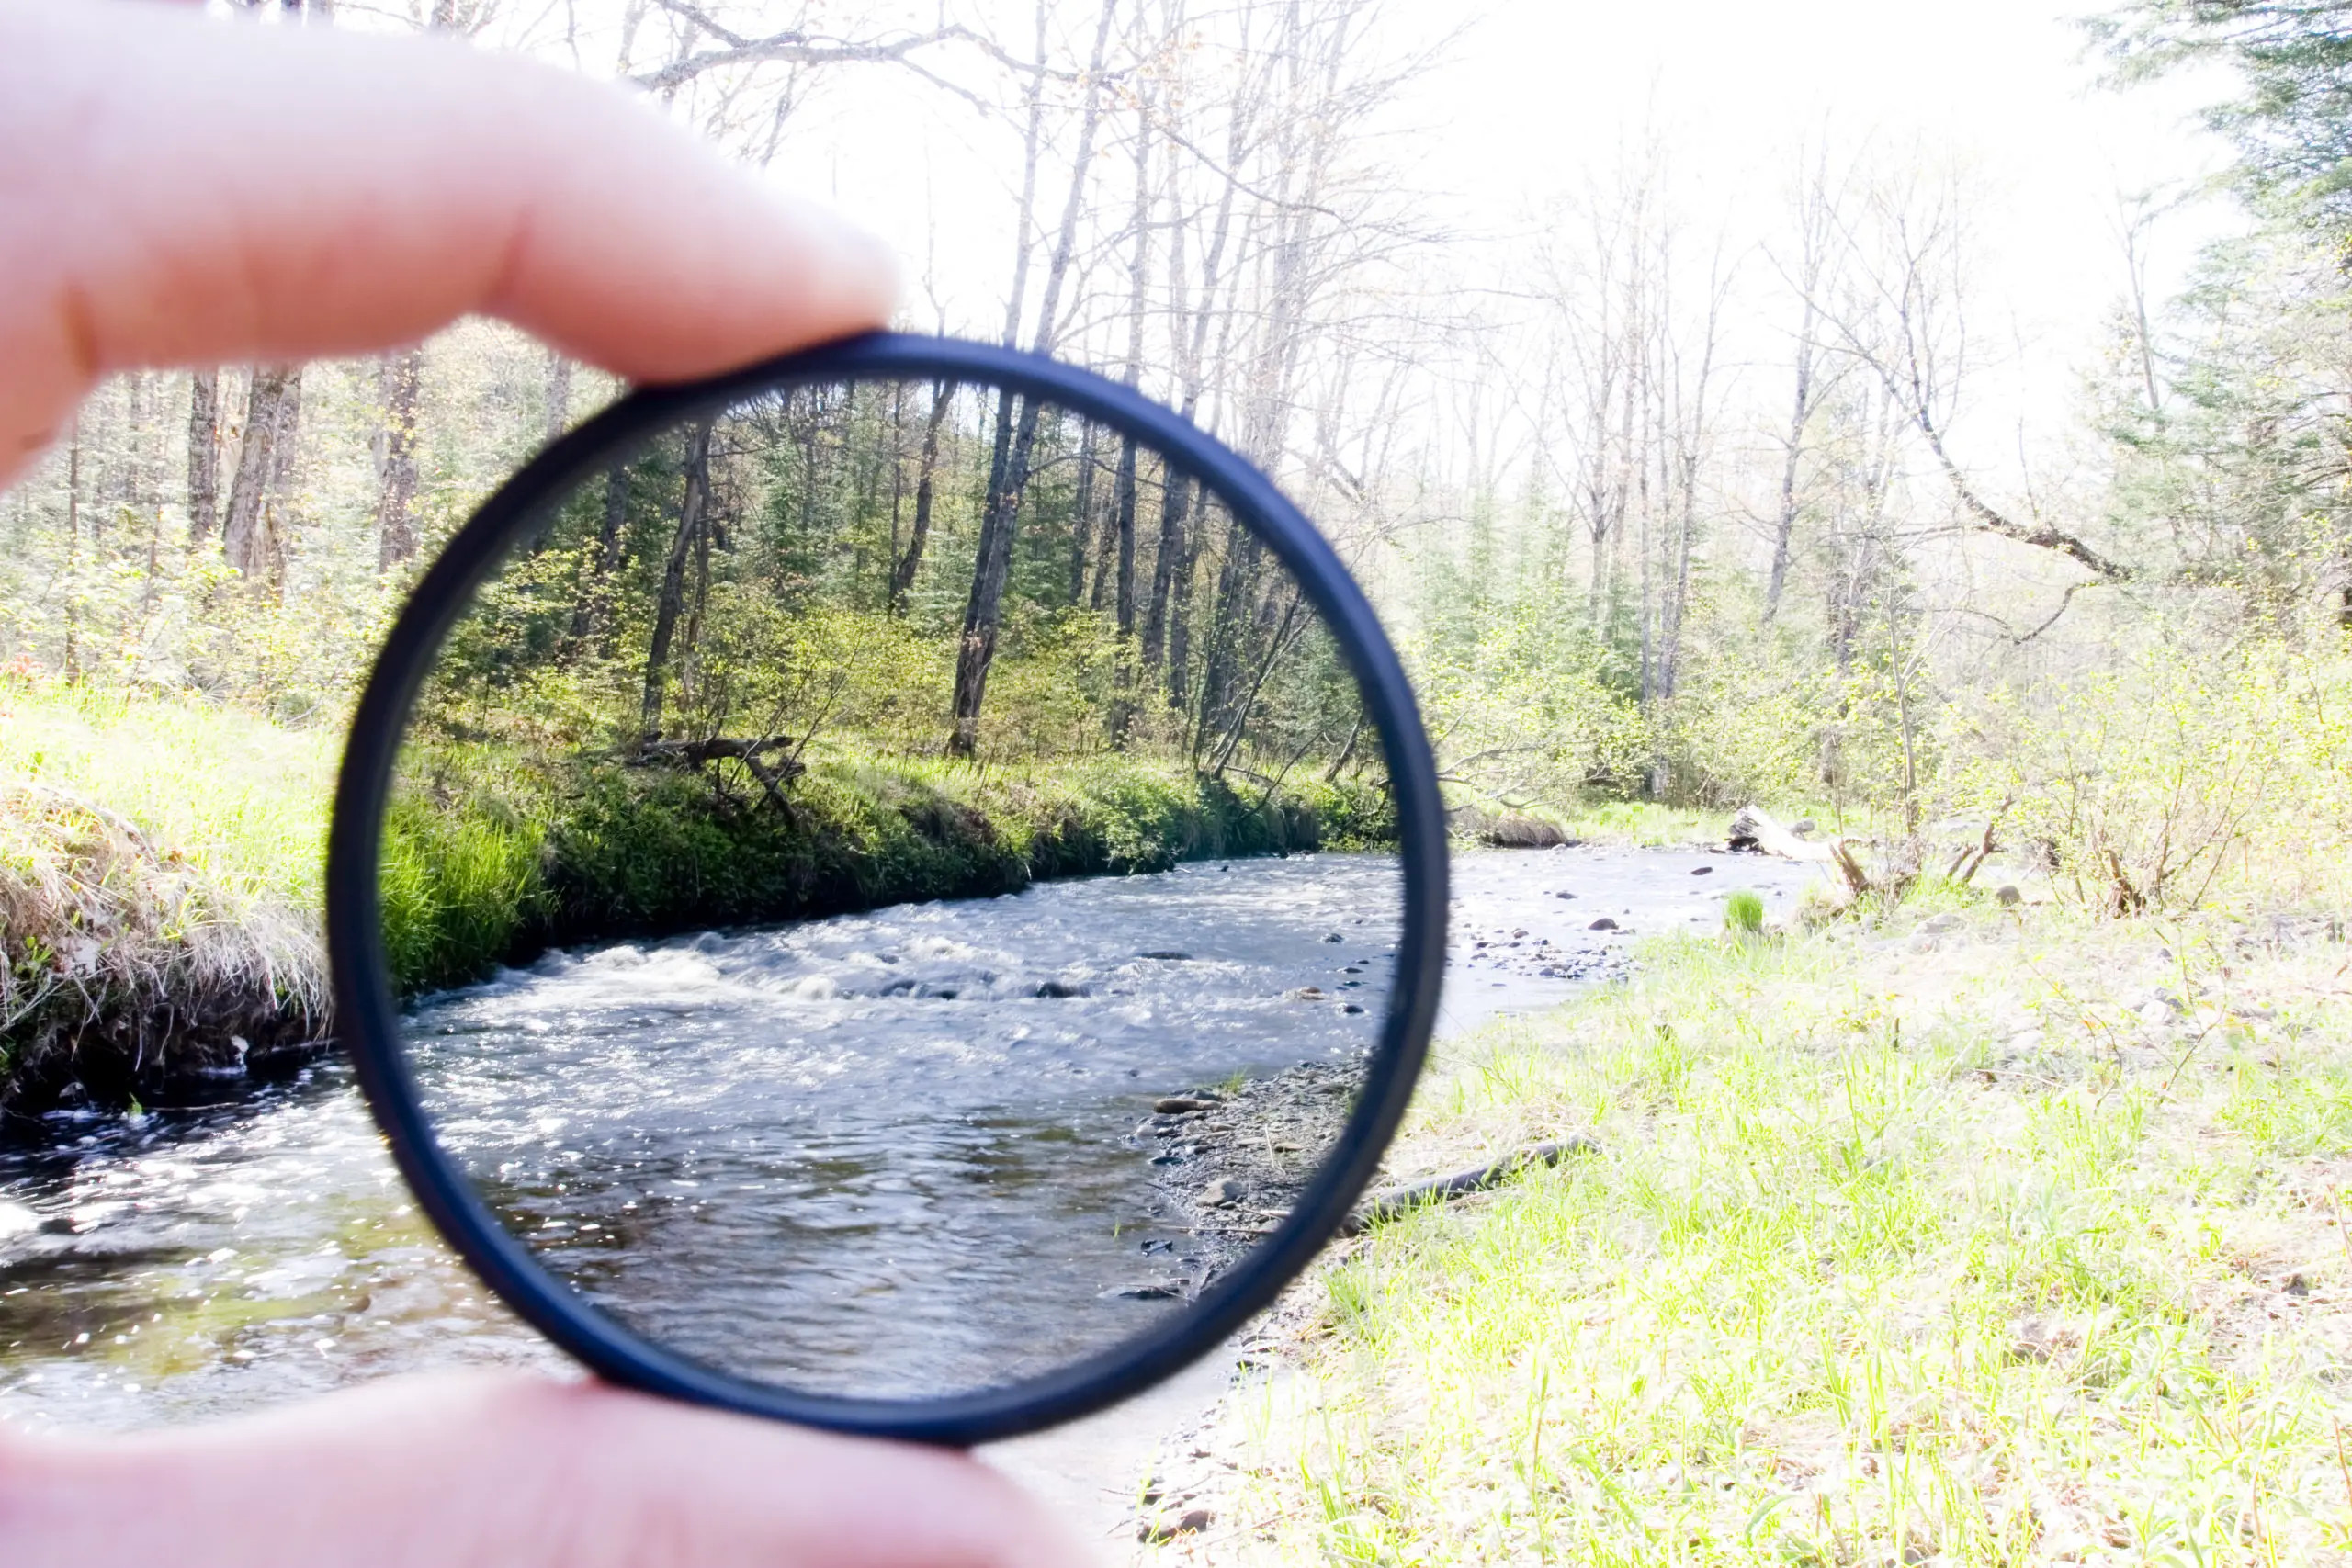
Use an ND filter
If you want to take long exposure photography seriously, then consider investing in an ND filter. ND stands for neutral-density. They sound technical, but just think of them as sunglasses that allow you to see better when the sun’s too intense. ND filters limit the amount of light coming into your camera lense, which allows you to take long exposure photographs even during the day.
As an example check out this ND filter.
Tip 7
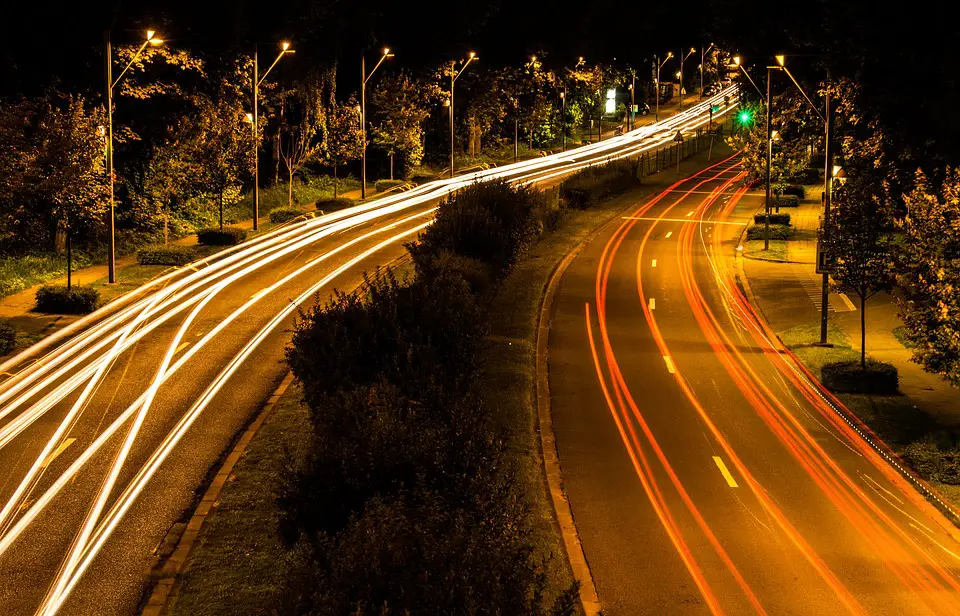
Capture light trails
If you’re ever shooting a long exposure in the city and want to capture the trailing light effect of cars passing by for example, then a general rule of thumb is: the longer your shutter speed is set to, the longer the trails of lights will be.
Tip 8
Painting with light
At first painting with light during a long exposure shot seems complicated, when in reality it’s not.
To do it set your shutter speed to 30 seconds, ISO down to 100 aperture to 8. Then set your camera’s self timer to 10 seconds. Push the shoot button and move in front of your camera, as soon as you hear your shutter go off, start writing, tracing or whatever you want. Remember, you’ll have to write in reverse because the camera registers whatever you create backwards.

Tip 9
How to fake a daytime long exposure if you don’t have an ND filter
For this, you’ll need a tripod, Adobe Photoshop and Adobe Lightroom. Set up your camera and focus on a scene which has moving elements, usually a mountain with clouds above is the perfect scene. You’ll need between 20 – 30 shots for this experiment to work.
Once you’ve captured your images and are back home, open up lightroom and import all your images into the catalogue, work your edits on one shot. Then synchronise all of your edits of this shot with the others of the series. Once you are done, select all of the images in the series, right click, and open in Photoshop as layers.
Once the computer has finished uploading you’ll have a Photoshop document with all the images in a giant stack of layers. The next step is to select all the levels and then right-click “Create smart object”.
This will open one single image that contains all the layers that have been stacked ontop of one another. Once finished go to Image -> Smart Object -> Stack Mode -> Mean.
Now you can sit back and watch photoshop do the magic and combine all of your pictures into one beautiful long exposure!
If this all sounds a bit confusing, no worries I’ve uploaded a tutorial below for you to watch!
If you are interested in getting into long exposure photography, these are some epic products I recommend:
Please feel free to ask me any questions you may have in the comments section below!
Potter
Wednesday 29th of July 2020
Keep on working, great job!